Continuing our theme of backup and recovery options in Windows 8.1, today we’re going to show you how to restore your computer using a System Image. In order to restore from a System Image, you’ll first need to [intlink id=”7105″ type=”post”]Create A System Image in Windows 8.1[/intlink]. You will also need to [intlink id=”7199″ type=”post”]Create A Windows 8.1 Recovery Drive[/intlink]. We’ll use the Recovery Drive to boot your computer into Windows 8.1 Troubleshooting options.
How To Boot To Windows 8.1 Troubleshooting Options
First, you’ll need to plug in your Rescovery Drive into a USB port on your computer. If you used an external hard drive to create your System Image, it will also need to be plugged in. If you stored your System Image on a Network Location, make sure that device is online and connected to your network.
Start your computer and immediately select the Boot Menu option. All computers should have a boot menu option, but how you access it varies by manufacturer. The most common method is by pressing one of the Function Keys as soon as you see the BIOS/Splash screen. The BIOS/Splash screen will give you instructions on which key to press. Below, I’ve listed the boot menu key for some major manufacturers.
- HP/Compaq: F9
- Sony: F10
- Dell, Lenovo, and Acer: F12
- Asus: ESC
Once you see the Boot Menu, choose the USB Flash Drive (Not your External Hard Drive) that contains your Recovery Drive and your computer will boot into Windows Troubleshooting Options.
How To Restore Windows 8.1 With A System Image
The first screen you’ll see asks you to choose your keyboard layout.

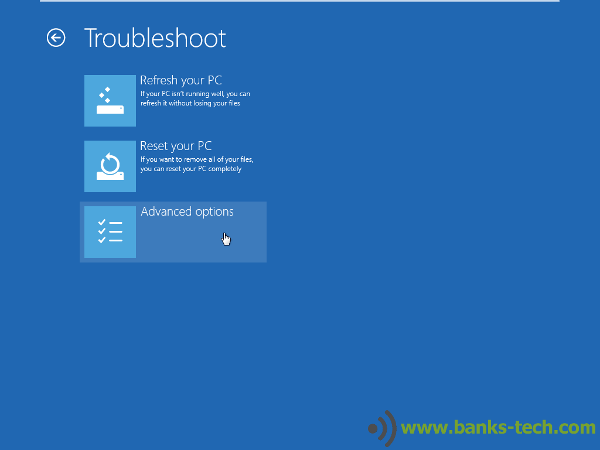
Next you’ll click on Troubleshoot.

Then click Advanced Options
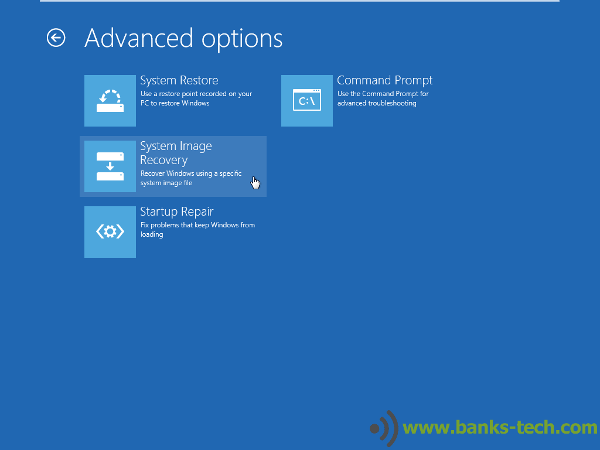
Click System Image Recovery
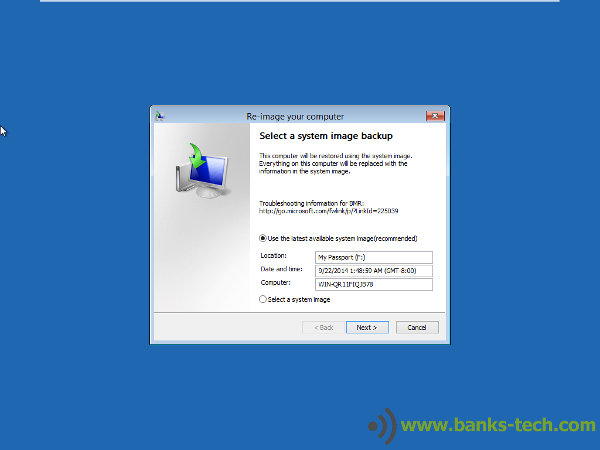
Windows 8.1 will now search your plugged in storage devices for a System Image. The most recent System Image will be selected by default. If you’d like to choose an earlier System Image, you can choose Select A System Image and click Next.
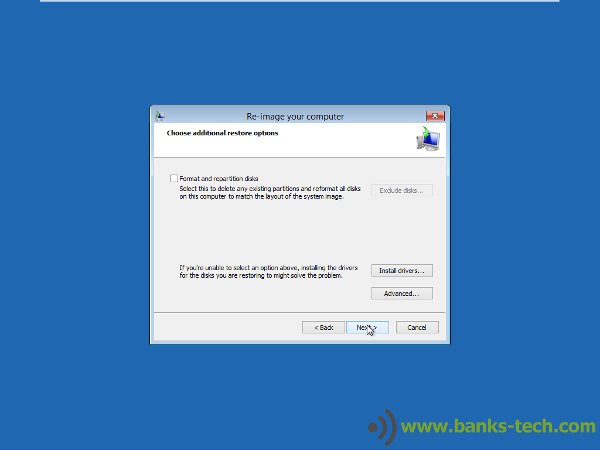
The next screen gives you additional restore options. Most users won’t need to select anything on this screen. If you have multiple hard drives and multiple partitions on your computer, you have the option to delete and format all hard drives and partitions. Normally this is not recommended. Click Next to continue.
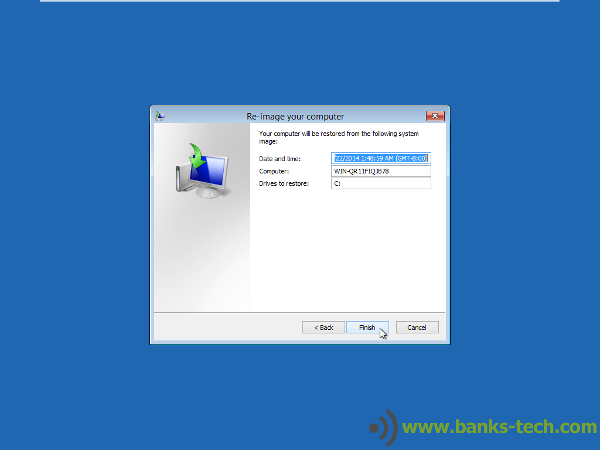
The last screen shows a summary of the System Image you are about to Restore. Make sure everything looks correct and then click Finish.
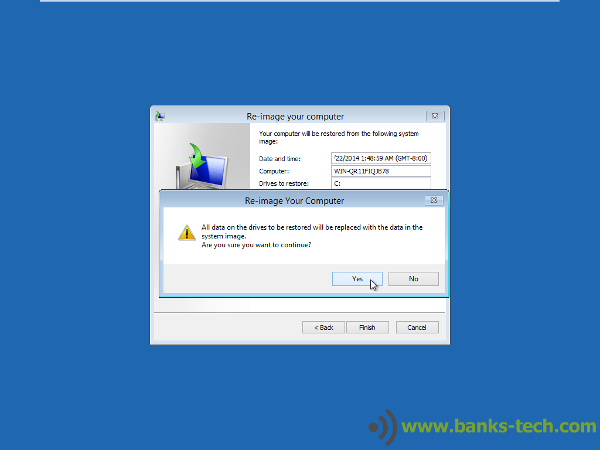
You’ll receive a final warning that the System Image will overwrite everything on the targeted disk(s). Click Yes to begin the restore process.
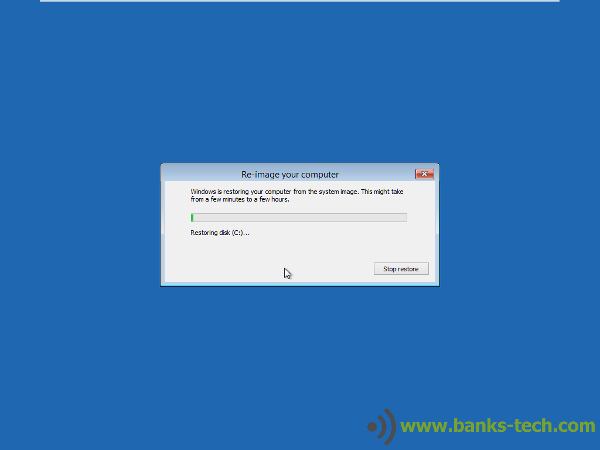
Depending on the size of the System Image, the entire restore process can take anywhere from a few minutes to an hour or more.
When the restore is complete, your computer will reboot.
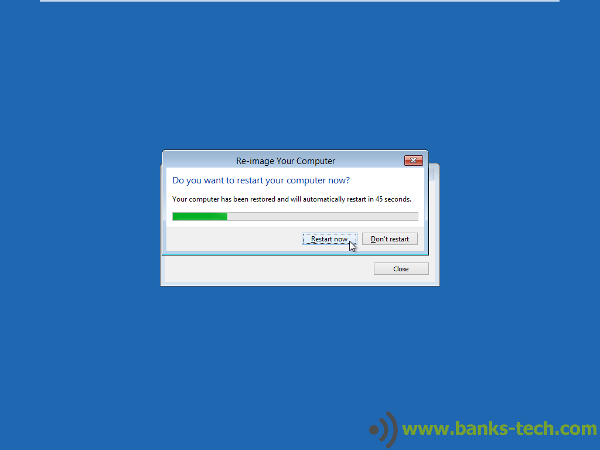
The System Image restore is now complete and your computer is an exact replica of the System Image file.
A System Image is by the far the quickest way to get a crashed computer up and running again. Since a System Image is an exact copy of your hard drive(s), it contains all of your programs, files, documents, settings, etc. Your backup plan should include creating System Images on a regular basis. System Images are a great way to restore your entire system, but you cannot restore individual files or documents using a System Image. You should combine your System Image backups with regular file backups using [intlink id=”7025″ type=”post”]Windows 8.1 File History[/intlink]. This will give you the ability to restore your entire system or just a few files that may have been lost.
Questions about How To Restore Windows 8.1 With A System Image?
What questions do you have about Restoring Windows 8.1 With A System Image? Please ask your questions below in the comment section and I’ll be sure to answer them.
[content_band style="color: #333;" bg_color="#78a22f" border="all" inner_container="true"] [custom_headline style="margin-top: 0;" level="h4" looks_like="h3"]Join Us At #BanksTechTips[/custom_headline]Be the smartest guy or gal in the room. Receive our best Tips, Tricks, and Tutorials absolutely free.

