What Is A Windows 8.1 Recovery Drive
A Windows 8.1 Recovery Drive is a bootable USB flash drive that you can use to troubleshoot Windows 8.1. The built-in Create A Recovery Drive tool, makes this process quick and simple. You will need at least a 512MB USB Flash Drive, a larger drive is fine but 512MB is the minimum. Make sure you don’t have any files you need on the flash drive, when you create the Recovery Drive it will be formatted and everything on the flash drive will be deleted.
The Windows 8.1 Recovery Drive gives you access to several different troubleshooting options. You can use the Recovery Drive in many of the recovery options provided by Windows 8.1, including [intlink id=”7201″ type=”post”]System Image Recovery[/intlink] and Recovery From A Restore Point. You can also use the Recovery Drive to perform Reset or Refresh operations in Windows 8.1. Lastly, you can use the Recovery Drive to access Startup Repair and Command Prompt features in Windows 8.1.
How To Create A Recovery Drive In Windows 8.1
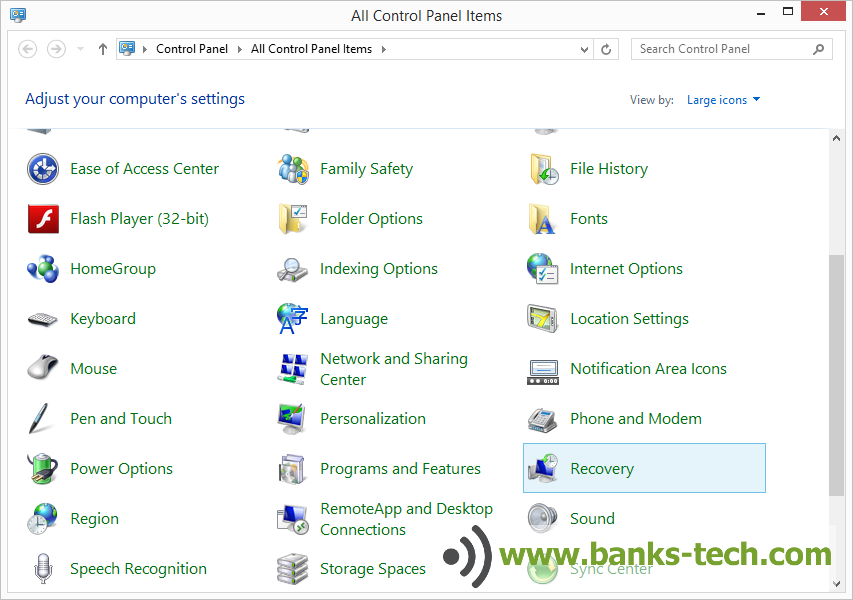
Begin by opening up Control Panel, make sure All Control Panel Items are showing, and then click on Recovery.
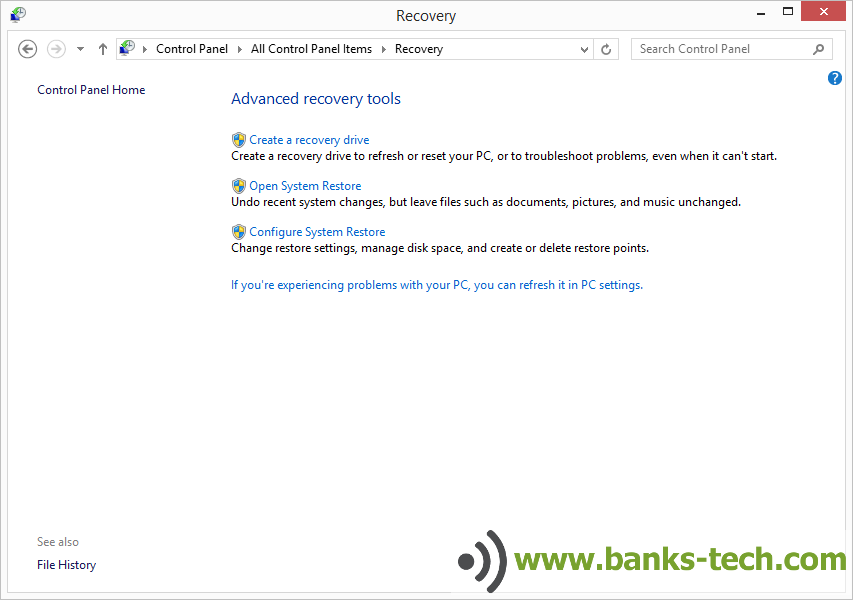
Now you’ll see the Advanced Recovery Tools screen. From here, you will click on Create A Recovery Drive.
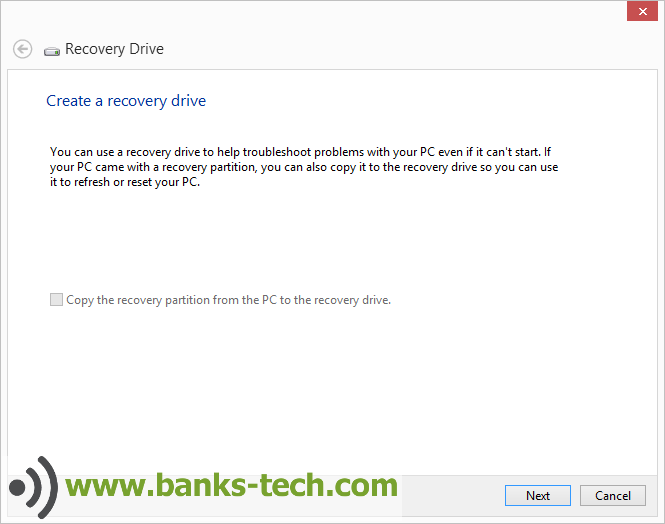
The Create A Recovery Drive window opens and gives a brief description of the Recovery Drive. Click Next to continue.
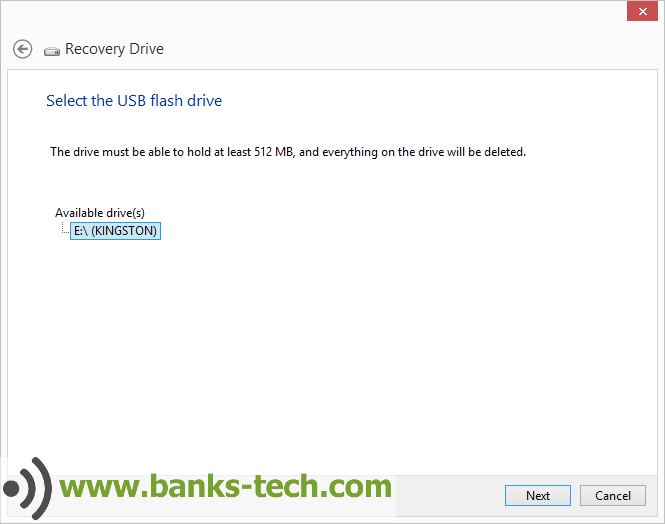
Now select the USB flash drive that you want to use for your Recovery Drive. Double check that you select the correct drive letter because everything on the flash drive will be deleted during this process. After confirming the correct drive is highlighted, click the Next button.
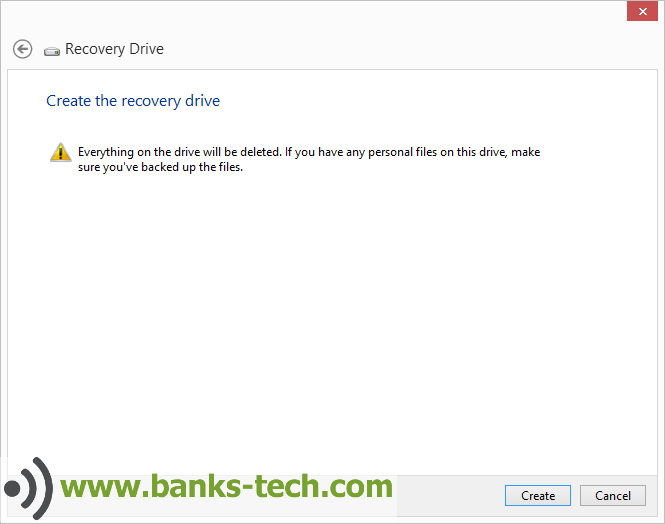
You’ll receive one final warning that all data on the flash drive will be deleted. Click Create to begin creating your Recovery Drive.
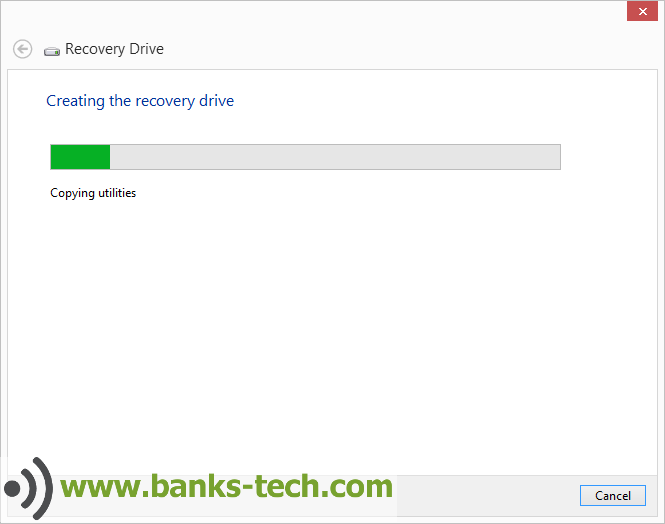
Windows 8.1 begins creating the Recovery Drive, you’ll see a status window indicating the progress. This process only takes a few minutes.
When the process completes, you’ll receive a The Recovery Drive Is Ready message. You can click Finish to close the window.

That’s it, you now have a fully functional, bootable USB Recovery Drive that allows you to access some of the more advanced recovery features in Windows 8.1. In order to use these troubleshooting features, you must boot your computer from the Recovery Drive. To boot from the Recovery Drive, you’ll need to make sure that the Boot Order in the BIOS has USB Device before your Hard Drive. You can also access the Boot Menu from your BIOS Splash screen and choose to boot from the USB Device.
Questions About How To Create A Windows 8.1 Recovery Drive?
Did this work for you? Did you run into any difficulties? What questions do you have about the Recovery Drive? Please ask your questions below in the comment section and I’ll be sure to answer them.
[content_band style="color: #333;" bg_color="#78a22f" border="all" inner_container="true"] [custom_headline style="margin-top: 0;" level="h4" looks_like="h3"]Join Us At #BanksTechTips[/custom_headline]Be the smartest guy or gal in the room. Receive our best Tips, Tricks, and Tutorials absolutely free.